Navigating the sharp, radiating discomfort of sciatica can feel debilitating, disrupting everything from daily walks to a good night's sleep. While rest might seem like the intuitive answer, targeted movement is often the most effective path to recovery. The key lies in understanding that not all exercises are created equal. The right movements can decompress the sciatic nerve, reduce inflammation, and strengthen the supporting muscles to prevent future flare-ups. This guide moves beyond generic advice, offering a curated roundup of seven distinct, evidence-based sciatica pain relief exercises and strategies.
We will delve into the 'why' behind each method, providing detailed, step-by-step instructions, safety precautions, and modifications to help you find the approach that best suits your specific condition. Our goal is to empower you with specific, actionable insights you can implement immediately. For those seeking lasting relief and a convenient path to healing, exploring comprehensive resources like an ultimate guide to recovery through Physiotherapy At Home: The Ultimate Guide to Recovery can be incredibly beneficial. Prepare to take a proactive role in your recovery and reclaim a life with less pain and more freedom of movement.
1. McKenzie Method Extension Exercises
Developed by New Zealand physiotherapist Robin McKenzie, the McKenzie Method, or Mechanical Diagnosis and Therapy (MDT), is a globally recognised assessment and treatment system for spinal and extremity pain. It is particularly effective for certain types of sciatica, especially when the pain is caused by a displaced intervertebral disc. The core principle is "centralisation", where specific, repeated movements can cause pain to retreat from the leg or foot back towards the centre of the spine.
This method empowers you to take control of your own pain relief through a series of prescribed sciatica pain relief exercises. By identifying a "directional preference", which for many sciatica sufferers is extension (bending backwards), these movements can help reduce the protrusion of the disc, thereby relieving pressure on the sciatic nerve.
How It Works: Centralising Your Pain
The goal isn't just temporary relief; it's to address the mechanical cause of the pain. For example, an office worker experiencing sciatica might use standing back extensions during work breaks to counteract the forward-flexed posture of sitting, which often aggravates disc issues. Similarly, many professional athletes have used prone press-ups to manage and recover from disc-related injuries, allowing them to return to their sport more quickly.
The following process flow diagram illustrates the typical progression within a McKenzie Method extension programme for sciatica.
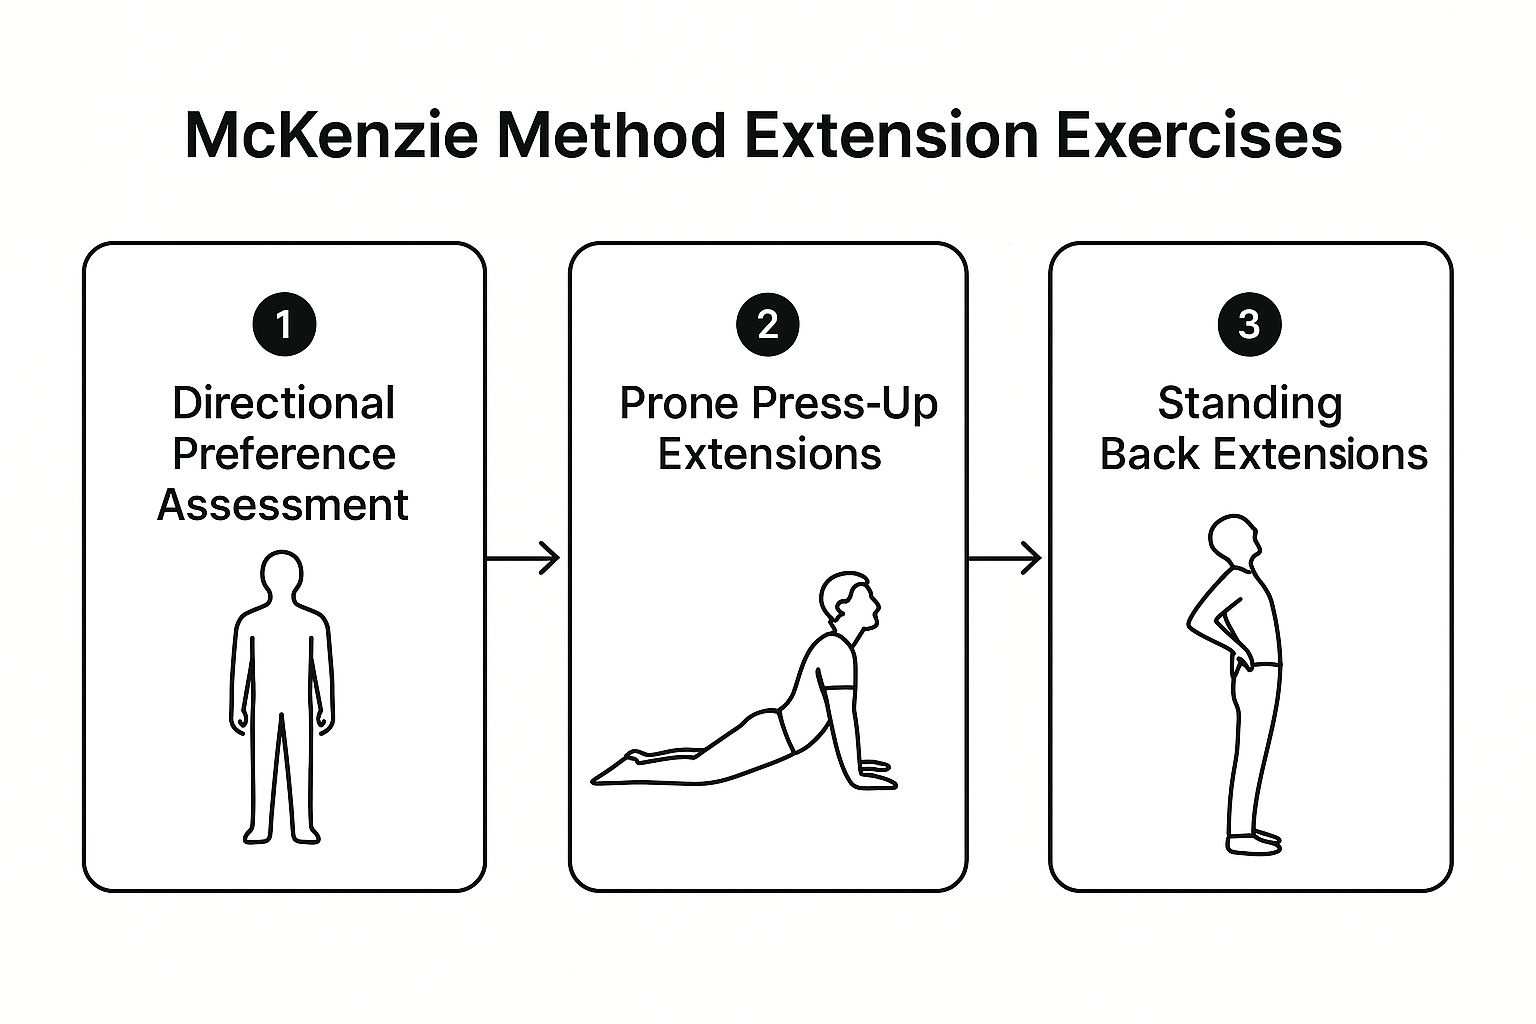
This diagram shows how a practitioner first assesses your directional preference before guiding you through progressive exercises like prone press-ups and standing extensions.
Getting Started with McKenzie Extensions
To safely perform these exercises, follow these guidelines:
- Start Gently: Begin by simply lying face down on a firm surface for 2-3 minutes to allow your spine to settle into a neutral, extended position.
- Progress Gradually: Move from passive lying to propping yourself up on your elbows, and then to full prone press-ups, ensuring your pelvis remains on the floor.
- Listen to Your Body: A key rule is to stop immediately if the pain travels further down your leg (a process called peripheralisation). Centralisation of symptoms is the goal.
- Be Consistent: For the best results, perform the prescribed exercises frequently throughout the day, often every 2-3 hours, to maintain the positive mechanical changes.
This video demonstrates the correct form for the prone press-up exercise.
Because the McKenzie Method relies on a precise diagnosis of directional preference, it is crucial to be assessed by a credentialed MDT practitioner to ensure the exercises are appropriate and safe for your specific condition.
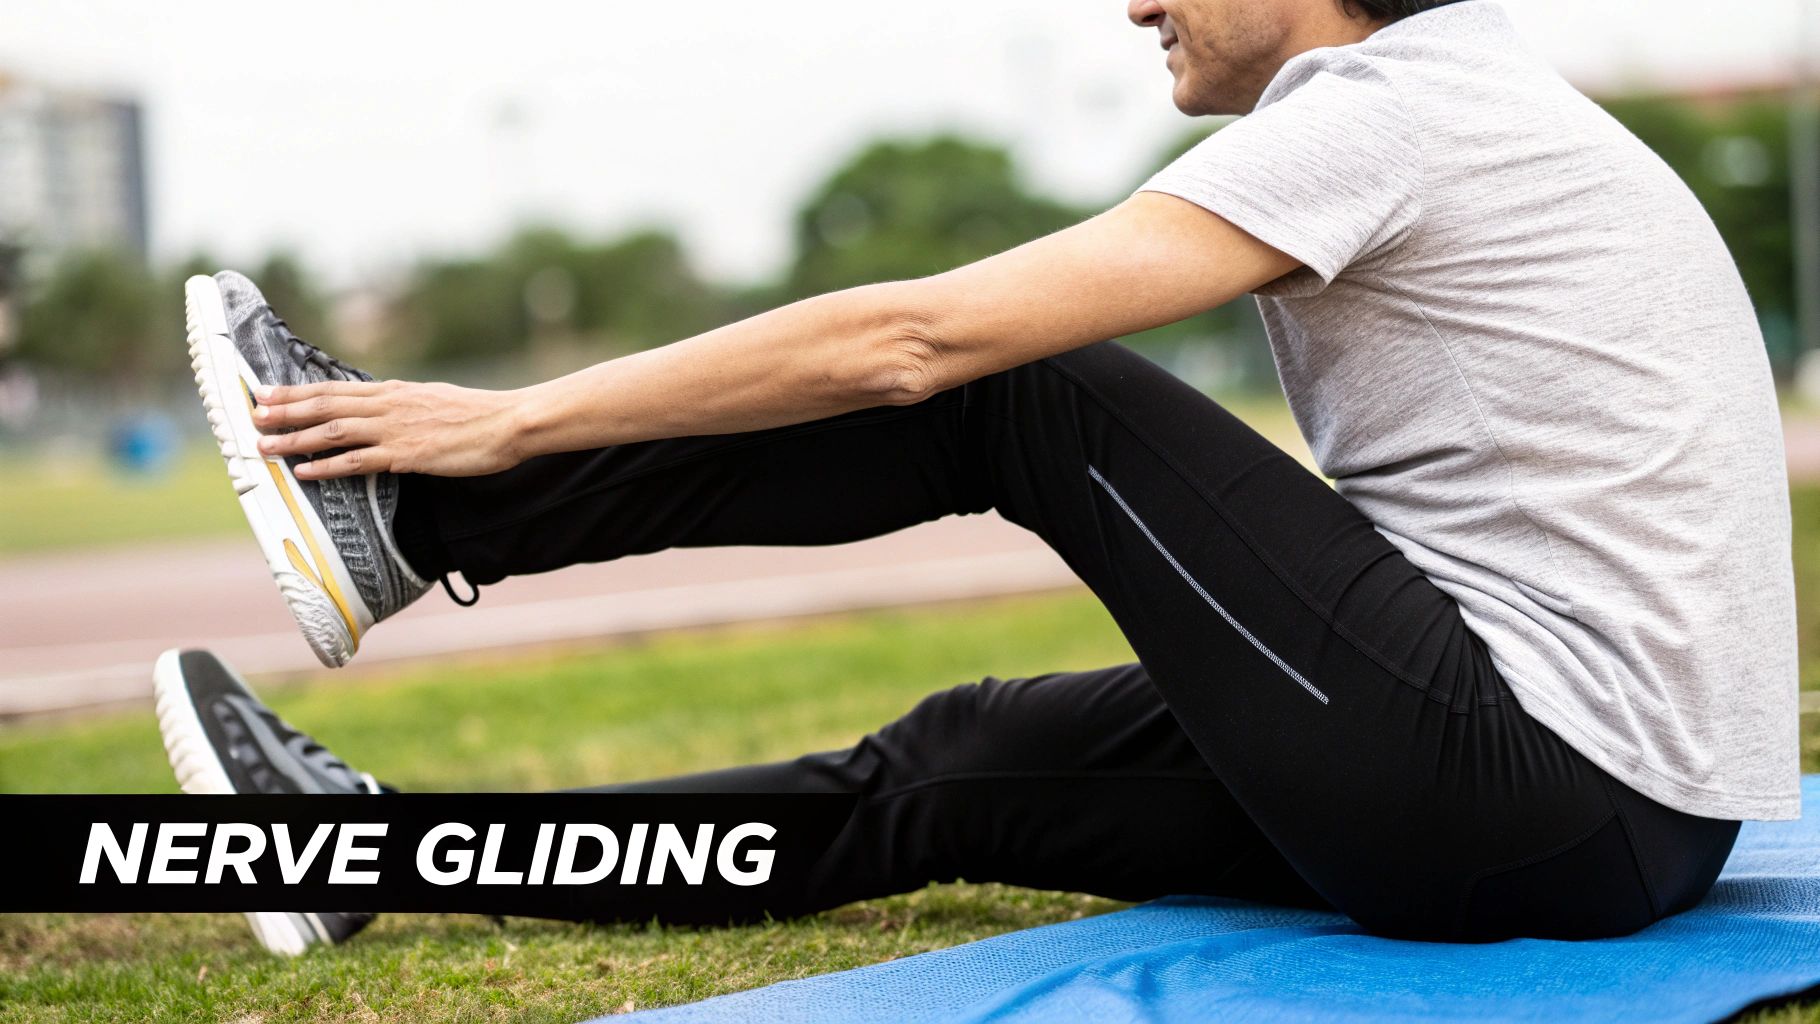
2. Neural Mobilization Techniques (Nerve Gliding)
Pioneered by researchers like David Butler and Michael Shacklock, neural mobilization, often called nerve gliding or flossing, is a specialised approach to managing nerve-related pain. The sciatic nerve is the longest in the body, and it must slide and glide freely through various tissues as you move. When irritation or adhesions restrict this movement, it can lead to pain, tingling, and numbness.
Neural mobilization techniques are a set of gentle, controlled sciatica pain relief exercises designed to restore this natural movement. By carefully tensioning and then releasing the nerve, these exercises help reduce sensitivity, improve blood flow to the nerve itself, and break down minor scar tissue or adhesions that may be causing entrapment.
How It Works: Restoring Nerve Movement
The principle is to gently "floss" the sciatic nerve through its pathway without overstretching it. Think of it like freeing a stuck rope by gently pulling it back and forth. This approach is frequently used in professional settings, such as restoring nerve mobility in athletes post-injury or as a key component in rehabilitation programmes for conditions like piriformis syndrome where the nerve is compressed by muscle. These gentle movements can be a valuable part of a broader treatment plan, which might also include considering whether heat or ice is better for your back pain.
The following video shows a common seated sciatic nerve glide, demonstrating the coordinated movement of the head and leg to mobilise the nerve.
Getting Started with Nerve Gliding
To perform these exercises safely and effectively, follow these key guidelines:
- Start with a Small Range: Begin with very small, gentle movements. The goal is mobilisation, not aggressive stretching.
- Do Not Push Through Pain: You should only feel a mild stretch or tension. If you feel sharp pain or your symptoms worsen, stop immediately.
- Rhythm is Key: Perform the movements in a smooth, rhythmic, and controlled manner. Aim for 10-20 repetitions per set.
- Consistency Over Intensity: It is more beneficial to perform these exercises 2-3 times throughout the day than to do one intense session.
Because nerve tissue is delicate, it is highly recommended to seek guidance from a qualified health professional. They can confirm if neural mobilisation is appropriate for your condition and teach you the correct form to ensure you are helping, not harming, the nerve.
3. Core Stabilization and Strengthening
Pioneered by researchers like Stuart McGill and Paul Hodges, core stabilisation is a fundamental approach to managing and preventing back pain, including sciatica. It focuses on strengthening the deep muscles of the torso, such as the transverse abdominis, multifidus, and pelvic floor, which act like a natural corset to support and protect the spine. A weak core can lead to spinal instability, placing excessive load on the intervertebral discs and increasing the risk of sciatic nerve irritation.
This approach empowers you to build a more resilient spine from the inside out. By improving control over these deep stabilising muscles, you can reduce unwanted movement in the lumbar spine during daily activities, thereby decreasing the mechanical stress on the structures that might be compressing the sciatic nerve. These sciatica pain relief exercises are not about building a "six-pack" but about creating functional strength and endurance.
How It Works: Building a Supportive Corset
The goal is to create a stable base for all movements, which protects the spine. For example, a new parent experiencing post-partum sciatica can use exercises like the "dead bug" to safely re-engage their deep core muscles without straining their back. Similarly, a construction worker can incorporate planks and "bird-dogs" into their routine to build the spinal endurance needed to prevent recurrent episodes of pain caused by heavy lifting.
A strong core helps maintain proper posture and alignment, which is crucial for offloading the sciatic nerve. This proactive approach addresses the root cause of instability, rather than just managing the symptoms.
Getting Started with Core Strengthening
To safely perform these exercises and build a foundation of strength, follow these guidelines:
- Master the Form: Begin with foundational exercises like the bird-dog and dead bug. The focus should be on perfect form and controlled, slow movements rather than the number of repetitions.
- Quality Over Quantity: Aim for 8-12 repetitions per side, maintaining a neutral spine throughout. If you cannot hold the correct form, stop the set.
- Breathe and Brace: Learn to engage your core by gently drawing your navel towards your spine, as if tightening a belt. Coordinate your breathing with each movement, exhaling on the effortful part of the exercise.
- Progress Sensibly: Once you have mastered the basics, you can gradually progress to more challenging exercises like side planks or planks with limb lifts. A good rule of thumb is to increase the difficulty every 2-3 weeks as you feel stronger.
This video demonstrates the correct technique for the bird-dog, a foundational core stability exercise.
Because identifying the right starting point and ensuring correct technique is vital, seeking guidance from a qualified health professional is recommended. They can assess your specific needs and create a progressive programme that is both safe and effective for your condition.
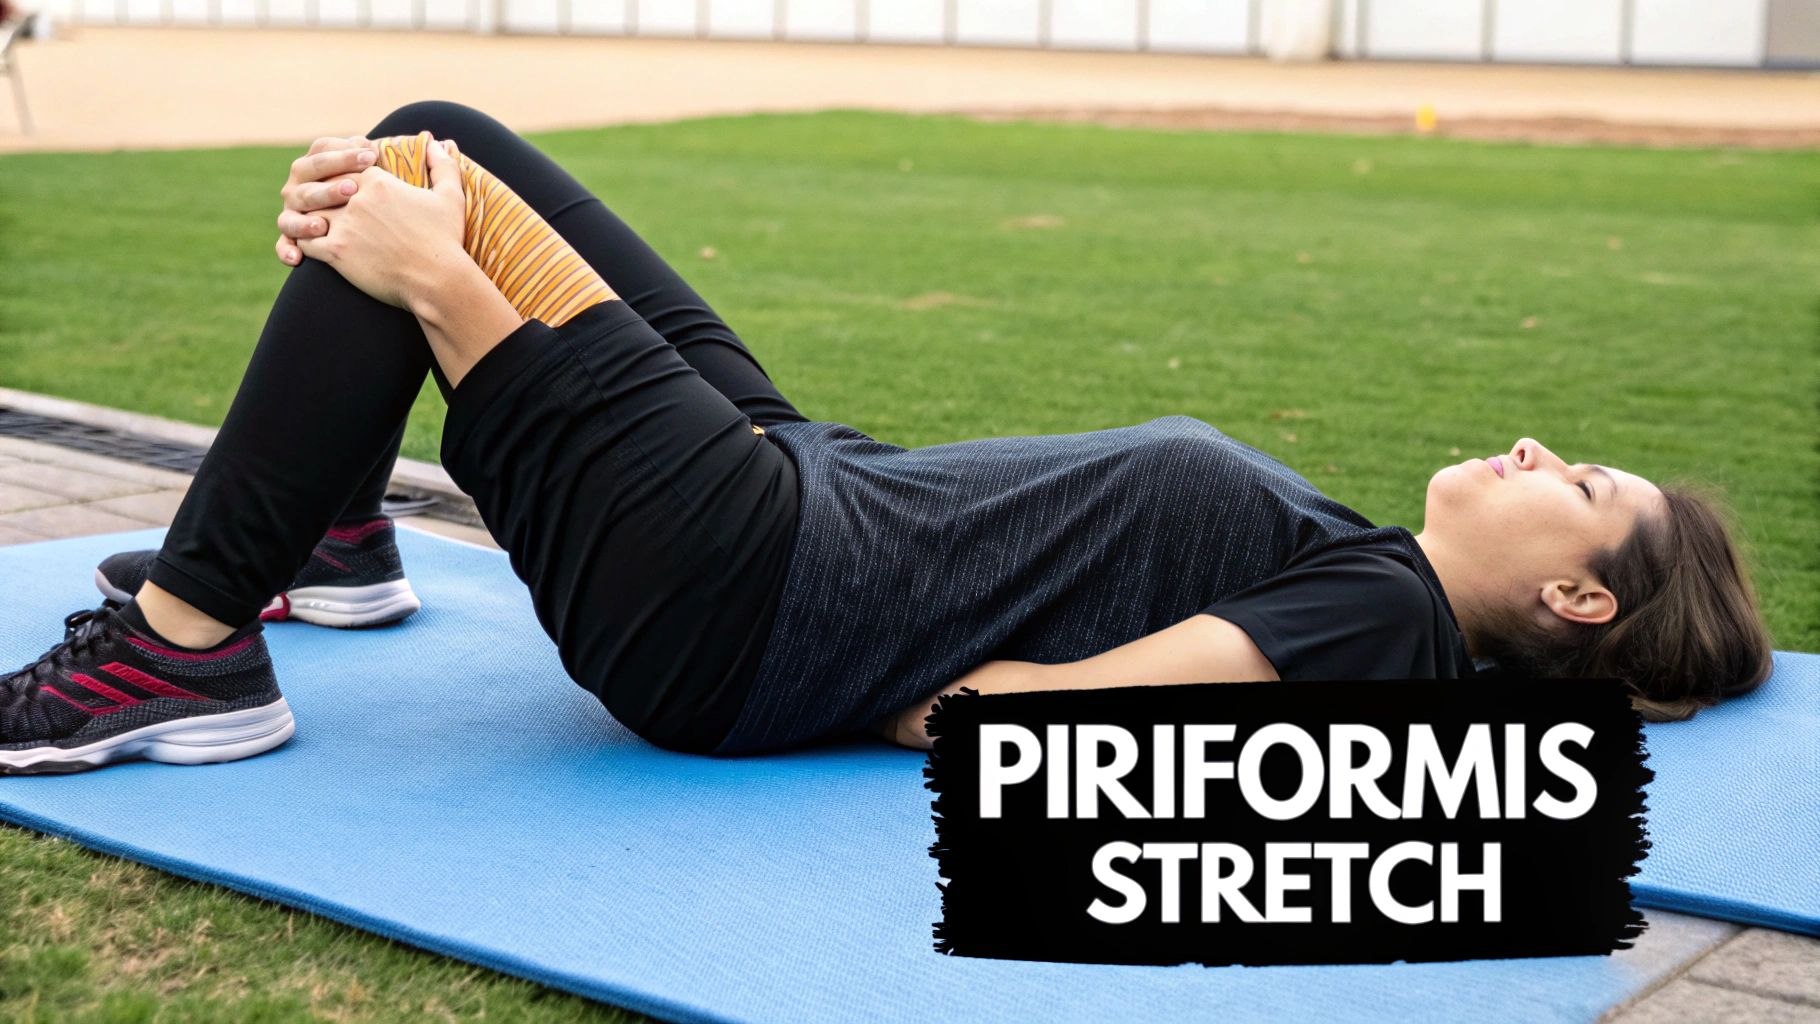
4. Piriformis Stretching and Release Techniques
The piriformis muscle is a small, deep muscle located in the buttock region, running from the lower spine to the top of the thighbone. When this muscle becomes tight, spasmed, or inflamed, it can compress or irritate the sciatic nerve, which runs directly underneath or, in some people, through it. This condition, known as piriformis syndrome, mimics the symptoms of true sciatica, causing pain, tingling, and numbness down the leg.
Specific stretching and release techniques are highly effective sciatica pain relief exercises for this particular issue. By targeting and releasing tension in the piriformis, you can alleviate the pressure on the sciatic nerve and reduce the associated "pseudo-sciatica" symptoms. This approach has been widely popularised by yoga practitioners, sports medicine specialists, and physical therapists for its direct and targeted relief.
How It Works: Releasing Nerve Compression
The goal is to gently lengthen and relax the piriformis muscle to create more space around the sciatic nerve. For example, an office worker who sits for long periods might develop a tight piriformis, leading to buttock and leg pain. Incorporating a seated figure-4 stretch every hour can counteract this tightness. Similarly, runners experiencing sciatica-like pain due to hip muscle imbalances often find relief by using a tennis ball for self-massage to release trigger points in the piriformis after a run. It is a common cause of pain that can sometimes be confused with other conditions; for more information, you can learn more about treating pain in the sacroiliac joint.
Getting Started with Piriformis Stretches
To perform these stretches safely and effectively, follow these guidelines:
- Hold Stretches Correctly: Aim to hold each stretch, like the figure-4 or pigeon pose, for 30-60 seconds without bouncing. This allows the muscle fibres to relax and lengthen.
- Be Gentle: You should feel a deep stretch in the buttock, not sharp pain. If you feel sharp pain, ease off the stretch immediately.
- Use Tools for Release: For a deeper release, place a tennis ball or foam roller under your buttock and gently roll over the piriformis muscle, pausing on any tender spots for 20-30 seconds.
- Stay Consistent: Consistency is crucial. Perform these stretches daily, especially after long periods of sitting or physical activity, to prevent the muscle from tightening up again.
This video demonstrates a few key variations of the piriformis stretch you can do at home.
While these exercises are beneficial for piriformis-related sciatica, if your pain persists or worsens, seeking a professional assessment is vital to confirm the underlying cause and receive a personalised treatment plan.
5. Spinal Decompression Through Inversion
Spinal decompression therapy uses gravity or mechanical traction to gently stretch the spine. This technique, often associated with inversion tables popularised by figures like Roger Teeter, aims to relieve back pain by creating negative pressure within the intervertebral discs. This process can help retract or reposition bulging or herniated disc material, taking pressure off compressed nerves like the sciatic nerve.
This method provides a non-invasive approach to managing sciatica, empowering individuals to use gravity to their advantage. By elongating the spine, it increases the space between vertebrae, which can alleviate nerve root compression and improve the circulation of water, oxygen, and nutrient-rich fluids into the discs, fostering a healthier spinal environment.
How It Works: Using Gravity for Relief
The primary goal of spinal decompression is to reduce the mechanical load on the spine that contributes to nerve impingement. For instance, athletes recovering from disc-related injuries often incorporate inversion therapy to accelerate healing and reduce downtime. Similarly, individuals with chronic sciatica from degenerative disc disease may find that regular, short sessions on an inversion table provide significant, albeit often temporary, relief from leg pain.
This controlled traction helps to unload the spinal discs and facet joints. Over time, this can help reduce inflammation and allow the body's natural healing processes to work more effectively on the affected nerve root, making it a valuable component in a comprehensive plan of sciatica pain relief exercises.
Getting Started with Inversion Therapy
To safely practise spinal decompression, it's crucial to begin cautiously and listen to your body:
- Start with a Low Angle: Begin with a mild inversion angle, typically 20-30 degrees. You do not need to be fully upside down to experience the benefits.
- Keep Sessions Short: Initially, limit your sessions to just 3-5 minutes, performed 2-3 times per day. You can gradually increase the duration as your body adapts.
- Prioritise Safety: Always ensure your inversion table is set up correctly and that your ankles are securely and comfortably locked in place. Have a spotter present when you first start.
- Combine with Other Treatments: Inversion works best when integrated into a broader treatment plan that includes strengthening, stretching, and professional guidance to address the root cause of your sciatica.
Because this method involves hanging upside down, it is not suitable for everyone, particularly those with high blood pressure, heart conditions, or glaucoma. Consulting with a healthcare professional before starting inversion therapy is essential to ensure it is safe and appropriate for your specific health circumstances.
6. Hamstring and Hip Flexor Stretching Program
Chronic tightness in the hamstrings (the muscles at the back of your thigh) and hip flexors (the muscles at the front of your hip) can significantly impact pelvic alignment. This imbalance often causes the pelvis to tilt, placing increased mechanical stress on the lower back and contributing to the irritation of the sciatic nerve. A dedicated stretching programme targeting these key muscle groups is a cornerstone of many successful sciatica pain relief exercises.
This approach is widely endorsed by physical therapists, rehabilitation specialists, and sports trainers. The central principle is to restore muscular balance and normal pelvic posture. By lengthening these tight muscles, you can effectively reduce the compressive and tensional forces on the lumbar spine and the sciatic nerve root, leading to a substantial decrease in pain and an improvement in overall mobility.
How It Works: Restoring Pelvic Balance
The goal is to alleviate the constant "pull" that tight muscles exert on your lower back. For instance, desk workers who spend hours sitting often develop shortened hip flexors and tight hamstrings; a daily stretching routine can directly counteract the negative effects of this prolonged posture. Similarly, athletes rely on hamstring and hip flexor flexibility to optimise performance and prevent nerve impingement syndromes that can arise from powerful, repetitive movements.
By incorporating specific stretches like the standing hamstring stretch or the kneeling hip flexor stretch, you can directly address the muscular imbalances that perpetuate sciatic nerve irritation. This helps to create more space for the nerve, allowing it to glide freely without being compressed.
Getting Started with Hamstring and Hip Flexor Stretches
To safely and effectively perform these stretches, follow these key guidelines:
- Warm Up First: Always prepare your muscles with 5-10 minutes of light activity, such as walking or gentle marching on the spot. Stretching cold muscles increases the risk of injury.
- Hold, Don't Bounce: Ease into each stretch until you feel a gentle pull, then hold the position for 30-45 seconds. Avoid any bouncing movements, as this can cause muscle micro-tears.
- Be Consistent: For lasting change, aim to stretch these muscle groups daily, ideally performing the routine 2-3 times throughout the day, especially if you have a sedentary job.
- Focus on Gradual Progress: Flexibility improves over time. Never force a stretch to the point of sharp pain. The aim is to feel a comfortable tension, not an agonising one.
This video provides a clear demonstration of safe and effective stretches for both the hamstrings and hip flexors.
While these stretches are generally safe, consulting with a qualified healthcare professional can help ensure you are performing the correct exercises for your specific condition and using the proper form to maximise benefits.
7. Walking and Low-Impact Aerobic Exercise
While it may seem counterintuitive to move when you are in pain, regular walking and other forms of low-impact aerobic exercise are highly recommended for sciatica relief. This approach focuses on gentle, sustained movement to promote healing by increasing blood flow, strengthening supportive muscles, and improving spinal health without subjecting the body to jarring, high-impact forces that could worsen the condition.
This method is championed by physical medicine specialists and public health advocates who emphasise active recovery. The rhythmic nature of walking helps to deliver vital nutrients to the spinal discs and soft tissues, reduce inflammation around the sciatic nerve, and prevent the muscle deconditioning that often accompanies prolonged inactivity. It is a fundamental component of many sciatica pain relief exercise programmes.
How It Works: Promoting Active Recovery
The principle behind this approach is that movement is medicine. For example, a post-surgical patient might begin with short, slow walks on a level surface as a first step towards rebuilding strength and mobility. Similarly, an individual with chronic sciatic pain can use swimming or water aerobics to maintain cardiovascular fitness and muscle tone, as the water's buoyancy supports the body and reduces stress on the spine.
This type of exercise is crucial for long-term management. It not only aids in current symptom relief but also builds a foundation of physical resilience, helping to prevent future flare-ups and supporting overall wellbeing. The gentle nature of these activities makes them accessible and effective for a wide range of fitness levels and conditions.
Getting Started with Walking and Low-Impact Aerobics
To safely incorporate these sciatica pain relief exercises into your routine, follow these guidelines:
- Start Slowly and Build Up: Begin with just 5-10 minutes of walking once or twice a day. As your body adapts and your pain allows, gradually increase the duration and frequency.
- Prioritise Proper Footwear: Wear comfortable, supportive shoes that provide good cushioning to absorb shock and reduce the impact on your joints and spine.
- Choose Your Surface Wisely: Initially, stick to flat, even surfaces like a track or a smooth pavement to avoid sudden twists or jarring movements that could aggravate the sciatic nerve.
- Listen to Your Body: Pain is a signal to stop or ease off. If your sciatica symptoms worsen during or after exercise, reduce your intensity or duration and rest. Never push through sharp or radiating pain.
This video offers practical tips on how to walk correctly to minimise back pain and maximise benefits.
Integrating movement into your daily life is a key part of a holistic approach to spinal health. Learn more about the 5 steps to wellbeing to support your recovery journey.
7 Sciatica Exercises Comparison Guide
| Item | Implementation Complexity 🔄 | Resource Requirements ⚡ | Expected Outcomes 📊 | Ideal Use Cases 💡 | Key Advantages ⭐ |
|---|---|---|---|---|---|
| McKenzie Method Extension Exercises | Moderate – requires assessment and correct directional movement | Minimal – mostly bodyweight/self-treatment | Rapid pain relief for disc-related sciatica; centralization of symptoms | Disc herniation, sciatica with directional preference | Highly effective for disc issues; cost-effective; self-empowering |
| Neural Mobilization Techniques (Nerve Gliding) | Moderate – requires knowledge of nerve mechanics | Minimal – no special equipment required | Improved nerve mobility and reduced adhesions; gradual symptom improvement | Nerve mobility restoration; piriformis syndrome; post-surgical rehab | Low risk if done properly; restores nerve mechanics; combinable with other therapies |
| Core Stabilization and Strengthening | Moderate to high – needs consistent practice and proper form | Minimal to moderate – guided or self-led exercises | Long-term spinal support and stability; reduced nerve irritation | Chronic instability, injury prevention, all fitness levels | Addresses root causes; long-lasting benefits; scalable difficulty |
| Piriformis Stretching and Release Techniques | Low – simple stretches and self-massage | Minimal – often no equipment needed | Immediate relief for piriformis syndrome; reduced muscle tension | Piriformis syndrome, pseudo-sciatica, tight hip muscles | Simple, accessible, low cost; immediate symptom relief |
| Spinal Decompression Through Inversion | Moderate – requires equipment and safety training | Moderate to high – inversion table needed | Temporary relief from nerve root compression; improved disc space | Disc herniation, spinal compression, post-op therapy | Immediate pain relief; non-invasive alternative; disc health promotion |
| Hamstring and Hip Flexor Stretching Program | Low to moderate – regular stretching routine | Minimal – can be done anywhere | Improved flexibility; reduced pelvic stress; prevents recurrence | Muscle tightness causing pelvis misalignment or sciatica | Addresses key muscle tightness; simple and cost-effective |
| Walking and Low-Impact Aerobic Exercise | Low – easy to begin, progressive | Minimal – no equipment necessary | Improved circulation, joint mobility, overall health | General sciatica management, post-surgery recovery, fitness maintenance | Accessible to all; promotes healing; psychological benefits |
Your Next Step Towards a Pain-Free Life
You've now explored a comprehensive toolkit of seven powerful strategies, from targeted McKenzie Method extensions and precise neural gliding techniques to foundational core stabilisation. Each of these sciatica pain relief exercises offers a unique pathway to reclaiming control over your body, addressing the multifaceted nature of sciatic nerve pain through stretching, strengthening, and mobilisation. We have delved into the importance of releasing the piriformis muscle, decompressing the spine, and maintaining flexibility in the hamstrings and hip flexors.
The core message throughout this guide is that movement, when applied correctly and consistently, is not your enemy; it is your most potent ally in the fight against sciatica. The journey from debilitating pain to active living is built upon the small, consistent actions you take each day. Remember, the goal isn't just to silence the pain temporarily but to build a more resilient, stronger, and better-aligned body that can prevent future flare-ups.
Key Takeaways for Lasting Sciatica Relief
To truly integrate these practices into your life, focus on these fundamental principles:
- Listen to Your Body: This is the most critical rule. Pain is a signal to stop or modify. Never push through sharp, shooting, or worsening pain. The exercises should create a sense of release or gentle stretching, not distress.
- Consistency Over Intensity: Performing a few gentle exercises correctly every day will yield far better results than one intense, sporadic session. Make these routines a non-negotiable part of your daily schedule, just like brushing your teeth.
- Form is Paramount: Incorrect form can not only render an exercise ineffective but may also worsen your condition. Revisit the instructions, use a mirror, or even record yourself to ensure you are performing each movement with precision.
- Patience is a Virtue: Sciatica rarely develops overnight, and it won't disappear overnight either. Healing is a gradual process that requires a commitment to your recovery programme. Celebrate small victories and acknowledge your progress along the way.
Embarking on this exercise programme is a significant and empowering step. However, sciatica is a complex condition with numerous potential root causes, from disc issues to muscular imbalances. While this curated list of sciatica pain relief exercises provides an excellent foundation, a one-size-fits-all approach may not be sufficient for complete, long-term resolution. If your pain persists, is severe, or you're unsure which exercises are right for your specific situation, seeking professional guidance is the most logical and effective next step. A specialist can provide an accurate diagnosis and create a personalised plan that targets the precise source of your discomfort, ensuring you are on the safest and fastest path to recovery.
Don't let sciatica control your life any longer. At Spine, Body & Health in Milton Keynes, we specialise in advanced diagnostics and a unique wellness care model to create tailored recovery plans without relying on generic solutions. Schedule your consultation today at Spine, Body & Health and discover a personalised path towards lasting pain relief.